1. color Script 사용하기
Color Scripter
Simple & Flexible Syntax HighLighter
colorscripter.com
2. 위 사이트에 코드를 복붙하면 거의 알아서 언어를 감지한다.
3. 오른쪽 하단에 있는 HTML로 복사 클릭해서 ctrl+c복사
4. 글쓰기 사이트에서 html보기로 들어가서 복사한 것 붙여넣기 끝~
아래는 예시
|
1
2
3
4
5
6
|
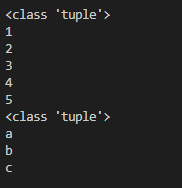
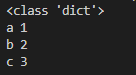
def test(**kwargs):
print(type(kwargs))
for k, v in kwargs.items():
print(k, v)
test(a=1, b=2, c=3)
|
cs |
참고
'컴퓨터 일반' 카테고리의 다른 글
| VSC + github 연동 (0) | 2022.08.28 |
|---|