- 모든 변수는 기본적으로 non-nullable임, 즉 null을 할당 할 수 없음
- 모든 변수는 non-nullable이므로 null check가 필요없음(과거 if문으로 null일 경우 이렇게 해라 등)
- class 내의 변수 역시 non-nullable이므로 초기화가 필요하다.
1. Nullable type
- Null이 올 수도 있다.
- type뒤에 ? 표기
2. late 키워드
- 잠시 후 초기화 할 거다.
- type 앞에 late 표기
3. Exclamation or Bang - !
- 원래 Nullable변수는 non-Nullable변수에 대입할 수 없지만 이 변수는 절대 null 값을 가지지 않는 다는 것을 명시해서 대입가능하게 함
- 대입하려는 변수 뒤에 ! 표기
4. named argument 형식에서 사용 (우리가 사용하는 Scaffold, Center등의 클래스가 named argument형식)
void main(){
  print(add(a:4, b:2));
}

int add({required int a, required int b}){
  int sum = a+b;
  return sum;
}
named argument는 선택적이라 null이 할당될 우려가 있음.
그래서 required 키워드를 붙여서 무조건 매개변수 값을 넘겨주도록 하거나
아니면 Nullable Type( ? )으로 변수를 선언하는 방법으로 회피하는데 함수 내에서 여전히 null값으로 남게되면 if문을 사용해서 null체크하라는 에러메시지를 띄운다.
5. lazy initialization (late 키워드 보충 - late 변수는 언제 초기화 되나?)
class Person{
  late int age = calculation();
  void printAge(){
    print('age');
  }
}

int calculation(){
  print('calculate');
  return 30;
}

void main(){
  Person p = Person();
  p.printAge();
  print(p.age);
}
만약 age변수가 late키워드가 없었다면 출력은
calculate -> age -> 30으로 출력 될 것이다.
하지만 late키워드가 있기 때문에
age -> calculate -> 30 순으로 출력된다.
여기서 우리는 late키워드가 있으면 해당 변수(여기서는 age)가 참조될 때 실행된다는 것을 알 수 있다.
6. 이전버전 null-safety버전으로 마이그레이팅하기
https://www.youtube.com/watch?v=SjJ6pxYuqwg&list=PLQt_pzi-LLfpx8x6YEMvUwfJHZIEk2L6J&index=3
출처: https://www.youtube.com/watch?v=QP0THWoDeag&list=PLQt_pzi-LLfpx8x6YEMvUwfJHZIEk2L6J&index=2
'플로터(Flutter) > 기본' 카테고리의 다른 글
| (코딩쉐프) 17~18강 BuildContext, Snack bar (0) | 2022.12.29 |
|---|---|
| (코딩쉐프) 14~16강 appbar, drawer (0) | 2022.12.28 |
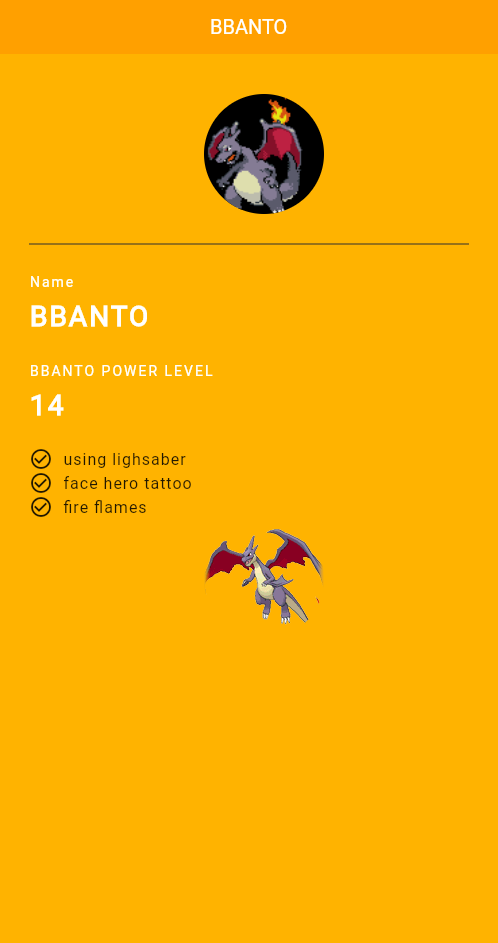
| (코딩쉐프) 순한맛 11강 [캐릭터 페이지 완성] (0) | 2022.12.28 |
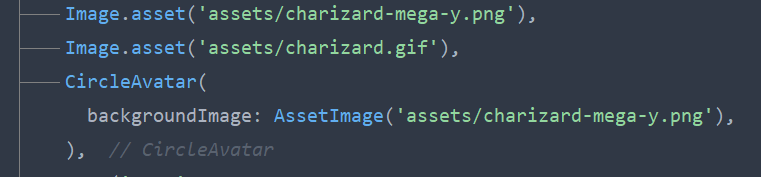
| (코딩쉐프) 순한맛 11강 이미지 처리 (0) | 2022.12.28 |
| (코딩셰프) 순한맛 8강 앱페이지 기본 코드 이해하기 (0) | 2022.12.28 |