1. main.dart에서 우리가 눈여겨 볼 것은 총 3가지이다.
가. 페이지이동

나. Textfield 컨트롤


다. 스낵바 사용하기
- 영상강좌에서는 SnackBar를 사용하기 위해 build위젯으로 감싸서 context를 만들어주는 부분이 있다 하지만 개선된 버전에서는 build위젯으로 감싸서 context를 만들어주는 부분이 필요없다.


main.dart
import 'package:flutter/material.dart';
import 'dice.dart';
void main() => runApp(MyApp());
class MyApp extends StatelessWidget {
const MyApp({Key? key}) : super(key: key);
@override
Widget build(BuildContext context) {
return const MaterialApp(
debugShowCheckedModeBanner: false,
title: 'Dice game',
home: LogIn(),
);
}
}
class LogIn extends StatefulWidget {
const LogIn({Key? key}) : super(key: key);
@override
State<LogIn> createState() => _LogInState();
}
class _LogInState extends State<LogIn> {
TextEditingController controller = TextEditingController();
TextEditingController controller2 = TextEditingController();
@override
Widget build(BuildContext context) {
return Scaffold(
appBar: AppBar(
title: Text('Log in'),
backgroundColor: Colors.redAccent,
centerTitle: true,
leading: IconButton(
icon: Icon(Icons.menu),
onPressed: () {},
),
actions: [IconButton(onPressed: () {}, icon: Icon(Icons.menu))],
),
body: GestureDetector(
onTap: (){
FocusScope.of(context).unfocus(); //키보드 없애기
},
child: SingleChildScrollView(
//스크롤 뷰로 구성
child: Column(
children: [
Padding(padding: EdgeInsets.only(top: 50)),
Center(
child: Image(
image: AssetImage('image/chef.gif'),
width: 170.0,
height: 190.0,
)),
Form(
child: Theme(
data: ThemeData(
primaryColor: Colors.teal,
inputDecorationTheme: InputDecorationTheme(
labelStyle: TextStyle(
color: Colors.teal, fontSize: 15.0))),
child: Container(
padding: EdgeInsets.all(40.0),
child: Column(
children: [
TextField(
autofocus: true,
controller: controller,
decoration: InputDecoration(
labelText: 'Enter "dice"'),
keyboardType: TextInputType.emailAddress,
),
TextField(
controller: controller2,
decoration: InputDecoration(
labelText: 'Enter Password'),
keyboardType: TextInputType.text,
obscureText: true,
),
SizedBox(
height: 40,
),
ButtonTheme(
minWidth: 100,
height: 50,
child: ElevatedButton(
style: ElevatedButton.styleFrom(
backgroundColor:
Colors.orangeAccent),
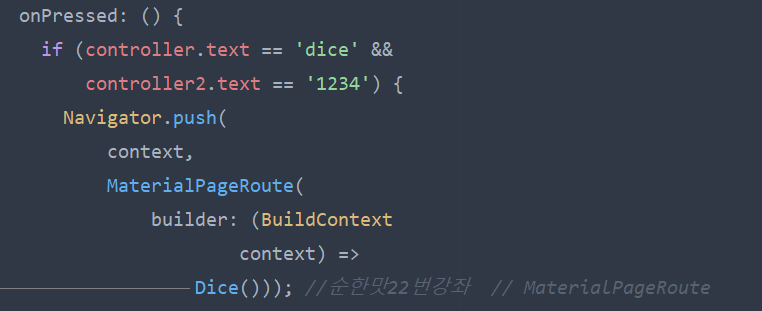
onPressed: () {
if (controller.text == 'dice' &&
controller2.text == '1234') {
Navigator.push(
context,
MaterialPageRoute(
builder: (BuildContext
context) =>
Dice())); //순한맛22번강좌
} else if (controller.text !=
'dice' &&
controller2.text == '1234') {
showSnackBar2(context);
} else if (controller.text ==
'dice' &&
controller2.text != '1234') {
showSnackBar3(context);
} else {
showSnackBar(context);
}
},
child: Icon(Icons.arrow_forward,
color: Colors.white, size: 35.0)))
],
),
)))
],
),
),
)
);
}
}
void showSnackBar(BuildContext context) {
ScaffoldMessenger.of(context).showSnackBar(SnackBar(
content: Text(
'로그인 정보를 다시 확인하세요.',
textAlign: TextAlign.center,
),
duration: Duration(seconds: 2),
backgroundColor: Colors.blue,
));
}
void showSnackBar2(BuildContext context) {
ScaffoldMessenger.of(context).showSnackBar(SnackBar(
content: Text(
'비밀번호가 일치하지 않습니다.',
textAlign: TextAlign.center,
),
duration: Duration(seconds: 2),
backgroundColor: Colors.blue,
));
}
void showSnackBar3(BuildContext context) {
ScaffoldMessenger.of(context).showSnackBar(SnackBar(
content: Text(
'dice의 철자를 확인하세요.',
textAlign: TextAlign.center,
),
duration: Duration(seconds: 2),
backgroundColor: Colors.blue,
));
}
dice.dart
- fluttertoast사용
import 'package:flutter/material.dart';
import 'dart:math';
import 'package:fluttertoast/fluttertoast.dart';

class Dice extends StatefulWidget {
  const Dice({Key? key}) : super(key: key);

  @override
  State<Dice> createState() => _DiceState();
}

class _DiceState extends State<Dice> {
  int leftDice = 1;
  int rightDice = 2;

  @override
  Widget build(BuildContext context) {
    return Scaffold(
      backgroundColor: Colors.redAccent,
      appBar: AppBar(
        backgroundColor: Colors.redAccent,
        title: Text('Dice Game'),
      ),
      body: Center(
        //center위젯 안에서 Column이나 Row를 사용할 때
        //중앙 정렬하려면 MainAxisAlignment.center사용
        //순한맛강좌 21강
        child: Column(
          mainAxisAlignment: MainAxisAlignment.center,
          children: [
            Padding(
              padding: const EdgeInsets.all(32),
              child: Row(
                children: [
                  //Expanded위젯은 컬럼이면 세로로 로우면 가로로 꽉 채움
                  Expanded(child: Image.asset('image/dice$leftDice.png')),
                  SizedBox(
                    width: 20,
                  ),
                  Expanded(child: Image.asset('image/dice$rightDice.png')),
                ],
              ),
            ),
            SizedBox(
              height: 60,
            ),
            ButtonTheme(
              child: ElevatedButton.icon(
                style: ElevatedButton.styleFrom(
                    backgroundColor: Colors.orangeAccent,
                    minimumSize: Size(100, 60)),
                onPressed: () {
                  setState(() {
                    leftDice = Random().nextInt(6)+1;
                    rightDice = Random().nextInt(6)+1;
                  });
                  showToast("Left dice: {$leftDice}, Right dice: {$rightDice}");
                },
                icon: Icon(Icons.play_arrow),
                label: Text("Next"),
              ),
            )
          ],
        ),
      ),
    );
  }
}

void showToast(String message){
  Fluttertoast.showToast(msg:message,
    backgroundColor: Colors.white,
    toastLength: Toast.LENGTH_SHORT,
    gravity: ToastGravity.BOTTOM,
  );
}
'플로터(Flutter) > 기본' 카테고리의 다른 글
| (코딩쉐프) 조금 매운 맛 10강 (loop) (0) | 2023.02.03 |
|---|---|
| (코딩쉐프) 조금 매운 맛 7강 (code refactoring) (0) | 2023.01.18 |
| (코딩쉐프) 조금 매운 맛 2강 (버튼에 따라 증감하는 앱) (0) | 2023.01.16 |
| (코딩쉐프) 조금 매운 맛 1강 (상속) (0) | 2023.01.13 |
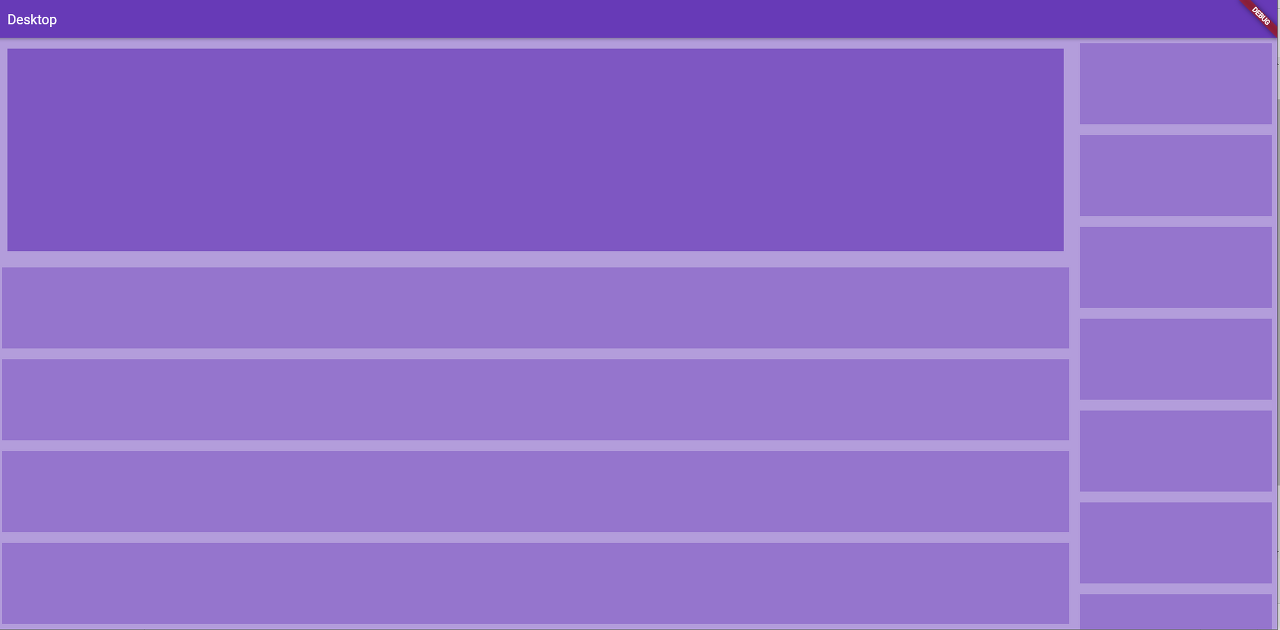
| (코딩쉐프) 순한 맛 시즌 2 - 반응형으로 만드는 유튜브(모바일,데스크톱) (0) | 2023.01.12 |