뭐가 문제인지 모르겠지만.. 나오긴하나 모양이 안바뀜 ㅜㅜ 텍스트는 잘 바뀐다.. 이유는 천천히 찾아보자.
우선 fluttertoast는 pub에서 패키지를 받아서 구현할 수 있다.
fluttertoast | Flutter Package (pub.dev)
fluttertoast | Flutter Package
Toast Library for Flutter, Easily create toast messages in single line of code
pub.dev
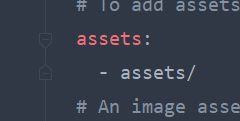
pubspec.yaml의 flutter에 패키지를 등록해주면 import가 가능하다
import 'package:flutter/material.dart';
import 'package:fluttertoast/fluttertoast.dart';

void main() => runApp(MyApp());

class MyApp extends StatelessWidget {
  const MyApp({Key? key}) : super(key: key);

  @override
  Widget build(BuildContext context) {
    return MaterialApp(
      title: 'Flutter Toast Message',
      theme: ThemeData(
        primarySwatch: Colors.blue,
      ),
      home: MyPage(),
    );
  }
}

class MyPage extends StatelessWidget {
  const MyPage({Key? key}) : super(key: key);

  @override
  Widget build(BuildContext context) {
    return Scaffold(
      appBar: AppBar(
        title: Text('Toast Message'),
        centerTitle: true,
      ),
      body: Center(
          child: ElevatedButton(
              onPressed: () {
                flutterToast();
              },
              child: Text('Toast'),
              style: TextButton.styleFrom(
                backgroundColor: Colors.greenAccent
              ))),
    );
  }
}

void flutterToast() {
  Fluttertoast.showToast(
      msg: "This is Center Short Toast",
      toastLength: Toast.LENGTH_SHORT,
      gravity: ToastGravity.CENTER,
      timeInSecForIosWeb: 1,
      backgroundColor: Colors.red,
      textColor: Colors.white,
      fontSize: 16.0
  );
}
'플로터(Flutter) > 기본' 카테고리의 다른 글
| (코딩쉐프) 22강 Navigator 1 (0) | 2023.01.03 |
|---|---|
| (코딩쉐프) 21강 Column widget, Row widget (0) | 2023.01.03 |
| (코딩쉐프) 17~18강 BuildContext, Snack bar (0) | 2022.12.29 |
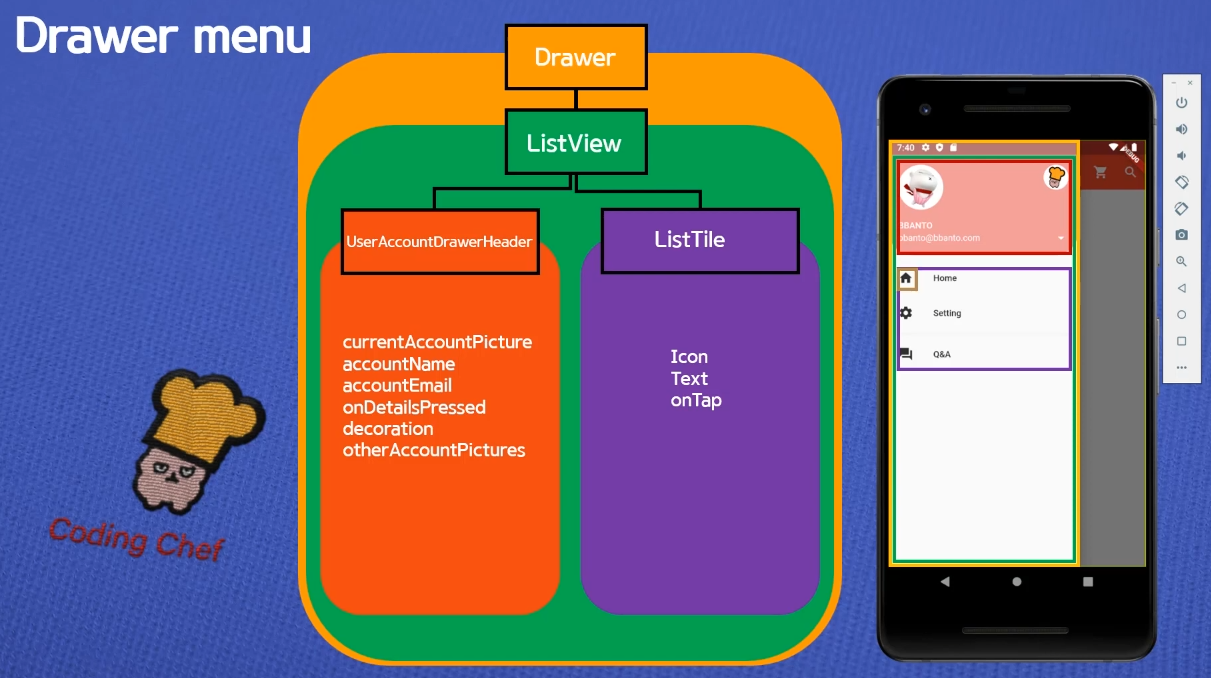
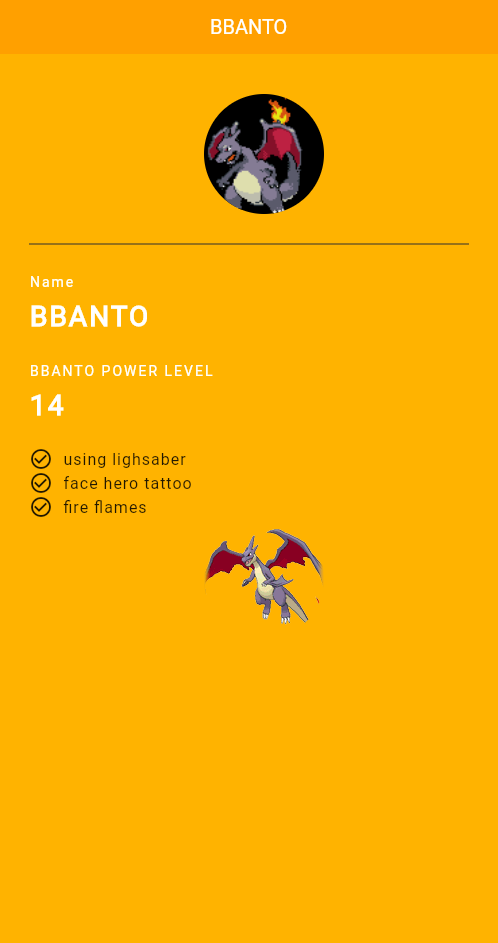
| (코딩쉐프) 14~16강 appbar, drawer (0) | 2022.12.28 |
| (코딩쉐프) Null Safety (0) | 2022.12.28 |